Setup Jekyll with GitHub Pages
As my first blog post, I feel like I should describe how I deployed this blog. Basically, I used Jekyll to create a static website and deployed it to GitHub Pages.
Jekyll
Jekyll is a simple, blog-aware static site generator that takes text written in Markdown, Liquid, HTML, or other formats and generates a static website ready to be hosted on a web server. It is the engine behind GitHub Pages and is widely used by developers for creating blogs, personal websites, and project documentation.
Initially, I wanted to use something like React, however, that seemed way too overkill for the relatively simple demand that I had, compared to Jekyll to write blogs is super easy.
Prerequisites
Before we dive into the deployment process, make sure you have the following prerequisites in place:
1. GitHub Account
Log in to your GitHub account and create a new repository with name yourusername.github.io
2. Install RubyGems
Install RubyGems on your local computer, for Ubuntu, use APT to install:
1
sudo apt install ruby-rubygems
3.1 Create New Jekyll Project
If you want to create a fresh new Jekyll project, first install jekyll:
1
gem install bundler jekyll
Then create a new jekyll project
1
jekyll new my-website
configure the _config.yml file and add dependencies to Gemfile as you see fit. Then test it locally using:
1
bundle exec jekyll serve
3.2 Use Jekyll Template
For me, I basically used a Jekyll template online, namely the Chirpy template.
- Fork the repo, then rename the repo to
yourusername.github.io. - Usually the template has Author Name, Project URL, etc. configured in places like
_config.ymland_data/. - Consider changing the favicon.
4. Deploy to GitHub
If your project doesn’t have a pages-deploy under .github file, you can manually configure the repo to build and deploy.
Commit your code to the GitHub repo, then visit your GitHub repository’s Settings page.
- Go to the “GitHub Pages” section. Under “Source,” select “main branch” and click “Save.”

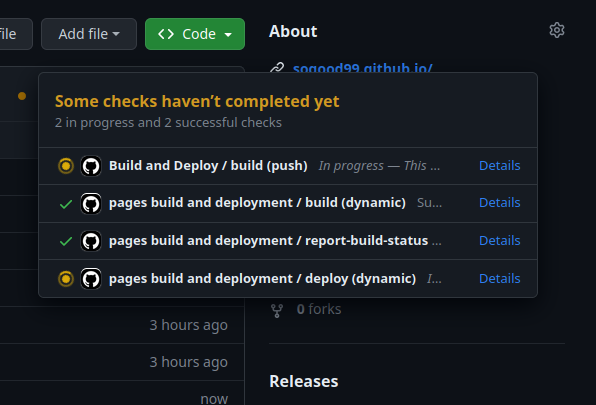
You should see a GitHub action in tab “Actions”, after it finished deploying, the page shoulde be live at
https://yourusername.github.io/.
NixOS Setup Attempt
Despite using bundle and bundix, I still wasn’t able to get Chirpy to run on NixOS. It seems to have something to do with dependency http_parser.rb and the fact that it cannot generate . in gemset.nix.
** Update, after some errors with write errors w/ bundle trying to write to nix store:
1
Errno::EROFS: Read-only file system
I basically changed the bundle path to user filespace:
1
bundle config set --local path vendor/bundle
Then I tried running bundle and it worked, running bundle exec jekyll s however gave the following error:
1
bundler: failed to load command: jekyll (/home/*/bundle_cache/ruby/3.1.0/bin/jekyll)
I tried running ./bundle_cache/ruby/3.1.0/bin/jekyll directly, and it instead said /usr/bin/env: ‘ruby’: No such file or directory, turns out I didn’t install ruby in configuration.nix. Adding that basically fixed everything.
